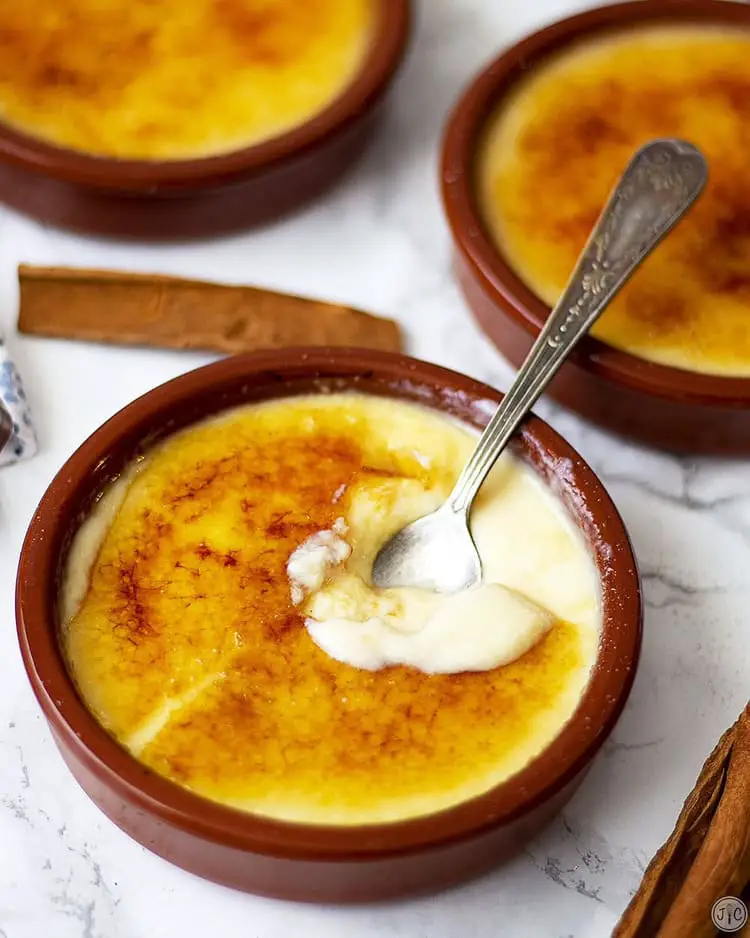
Crème brûlée might sound fancy and intimidating, but trust me—it’s actually one of the easiest and most rewarding desserts you can make at home.
If you love creamy, silky custard with that perfectly crackly caramelized sugar topping, you’re in for a treat. And the best part? You don’t even need a blowtorch!
In this article, I’ll guide you step by step through the process, giving you all the tips and tricks to ensure perfect results every time.
Why Crème Brûlée is Easier Than You Think
There was a time when I thought crème brûlée was reserved for fancy French restaurants.
I mean, it just sounds complicated, right?
French name, delicate texture, caramelized sugar topping—all of it made me believe it was out of my league.
But after making it once, I realized that it’s actually super simple—just four basic ingredients and a little patience.
If you can whisk eggs and heat cream, you’re already halfway there!
Plus, this dessert is great for impressing guests.
It looks sophisticated, yet it’s surprisingly low-effort.
You can even make it ahead of time, leaving you free to relax and enjoy the evening when it’s time to serve dessert.
Let’s break it down.
Ingredients for Classic Crème Brûlée
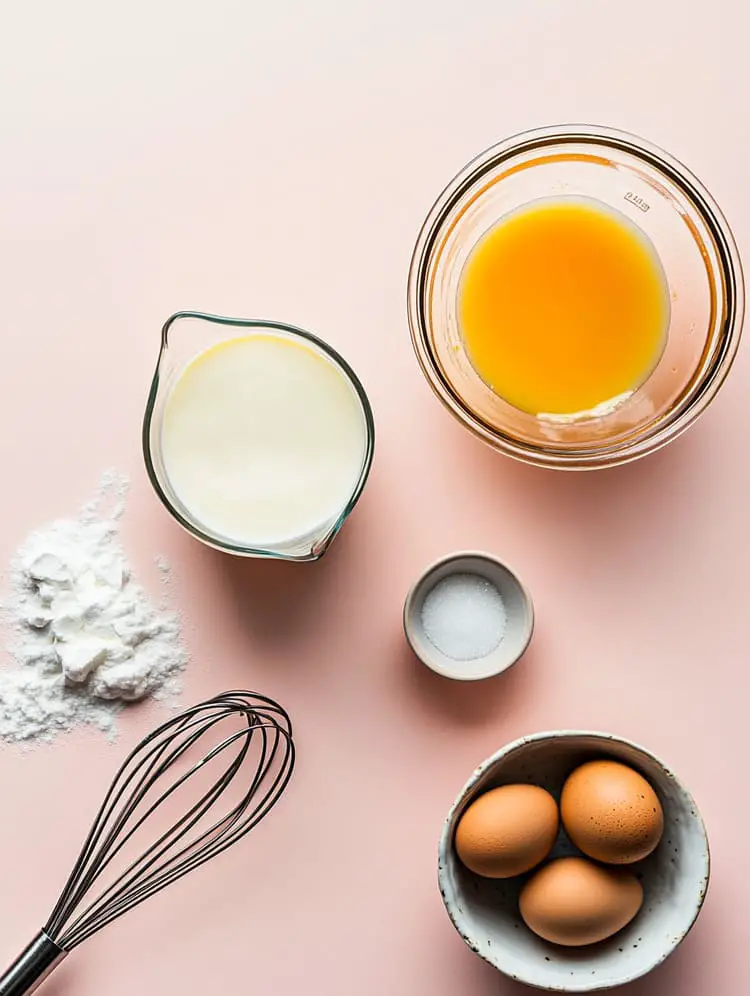
Here are the four essential ingredients you need to make classic crème brûlée:
- 2 cups (500 ml) heavy cream – This is the base of the custard and gives it that rich, velvety texture.
- 1 vanilla bean (or 1 tsp vanilla extract/paste)
- 4 large egg yolks – The key to getting that smooth, creamy consistency.
- 1/3 cup (65 g) granulated sugar – Both for sweetening the custard and for creating that caramelized top.
That’s it!😉
No complicated techniques, no rare ingredients, just simple pantry staples coming together to create something magical.
Step-by-Step: How to Make Crème Brûlée
1. Infuse the Cream
Pour the heavy cream into a saucepan.
If using a vanilla bean, slice it in half lengthwise and use the back of your knife to scrape out the tiny black seeds. Add both the seeds and the pod to the cream for maximum flavor.
If using vanilla extract or paste, skip this step and add it later.
Heat the cream over low heat until it’s warm and steamy (small bubbles may form around the edges, but don’t let it boil).
Stir occasionally.
Remove from heat and let it sit for 15 minutes to infuse.
If using vanilla extract or paste, stir it in now.
2. Mix the Egg Yolks and Sugar
In a mixing bowl, whisk the egg yolks and sugar together until the mixture is pale, smooth, and slightly thickened (about 1-2 minutes).
Whisk gently but thoroughly—no need to overdo it.
The goal is to combine the ingredients evenly.
3. Combine the Cream and Egg Mixture
Slowly pour the warm cream into the egg mixture while whisking constantly.
This is called tempering and prevents the eggs from scrambling.
Tip for Beginners: Pour the cream in a thin, steady stream and keep whisking the entire time. If you’re nervous, you can also add a small amount of cream first, whisk, then add the rest gradually.
Strain the mixture through a fine mesh sieve into a clean bowl or jug to remove any lumps or the vanilla pod. Straining ensures a silky-smooth custard, so don’t skip this step!
4. Bake in a Water Bath
Preheat your oven to 325°F (160°C).
Divide the custard evenly among 4-6 ramekins. Place the ramekins in a deep baking dish.
Use a baking dish that’s deep enough to hold the ramekins and water without spilling.
Carefully pour hot water into the baking dish until it reaches halfway up the sides of the ramekins. This helps cook the custard gently and evenly.
Bake for 30-35 minutes, or until the edges are set but the center still has a slight wobble when shaken.
Tip for Beginners: The wobble is key! It means the custard will be creamy and soft after chilling. If it’s fully set in the oven, it might overcook and become rubbery.
Carefully remove the ramekins from the water bath and let them cool to room temperature.
Then, refrigerate for at least 4 hours or overnight to set.
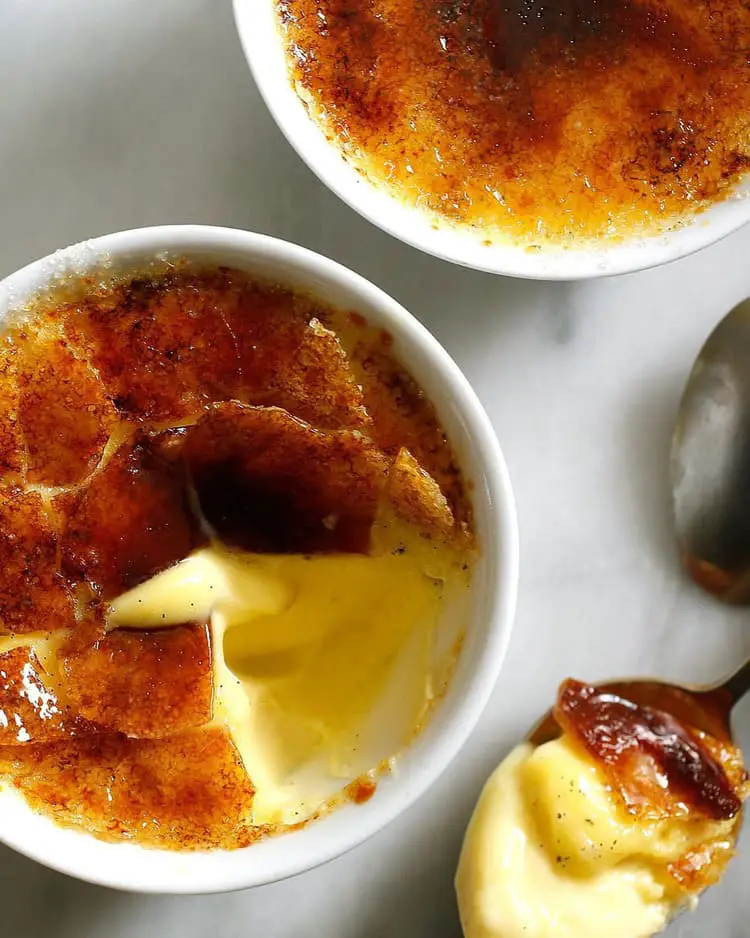
5. Caramelize the Sugar
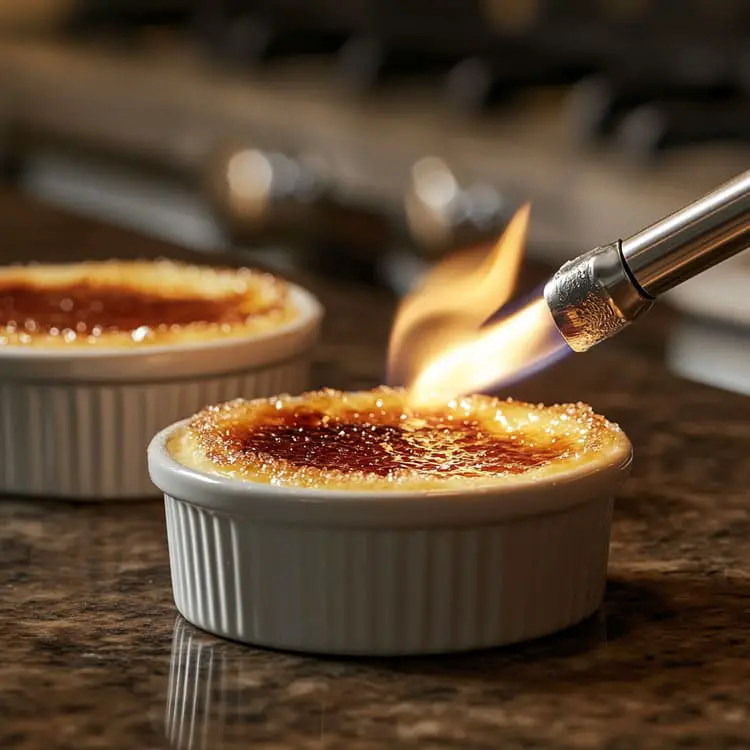
When ready to serve, sprinkle a thin, even layer of sugar over the top of each custard.
If you have a kitchen torch: Use it to melt and caramelize the sugar, moving the flame in circles until the sugar is golden brown and bubbly. Let it cool for 1-2 minutes to harden into a crisp shell.
If you don’t have a kitchen torch: No problem! Use your oven’s broiler instead:
Place the ramekins on a baking sheet and sprinkle sugar evenly over the tops.
Turn on the broiler and let it heat up.
Place the ramekins under the broiler for 1-2 minutes, watching closely to avoid burning. The sugar will melt and caramelize.
Let it cool for 1-2 minutes to harden.
Serve immediately after caramelizing the sugar for the best texture.

Tips for Perfect Crème Brûlée
- Avoid air bubbles – When whisking, don’t overdo it. Too much air in the mixture can cause a foamy top instead of a smooth custard.
- Use shallow ramekins – More surface area = more caramelized sugar topping!
- Chill before caramelizing – A really cold custard helps prevent melting when you torch the sugar.
- Make it ahead – Crème brûlée keeps well in the fridge for up to three days before adding the sugar topping.
Variations to Try
Once you’ve mastered the classic, why not experiment?
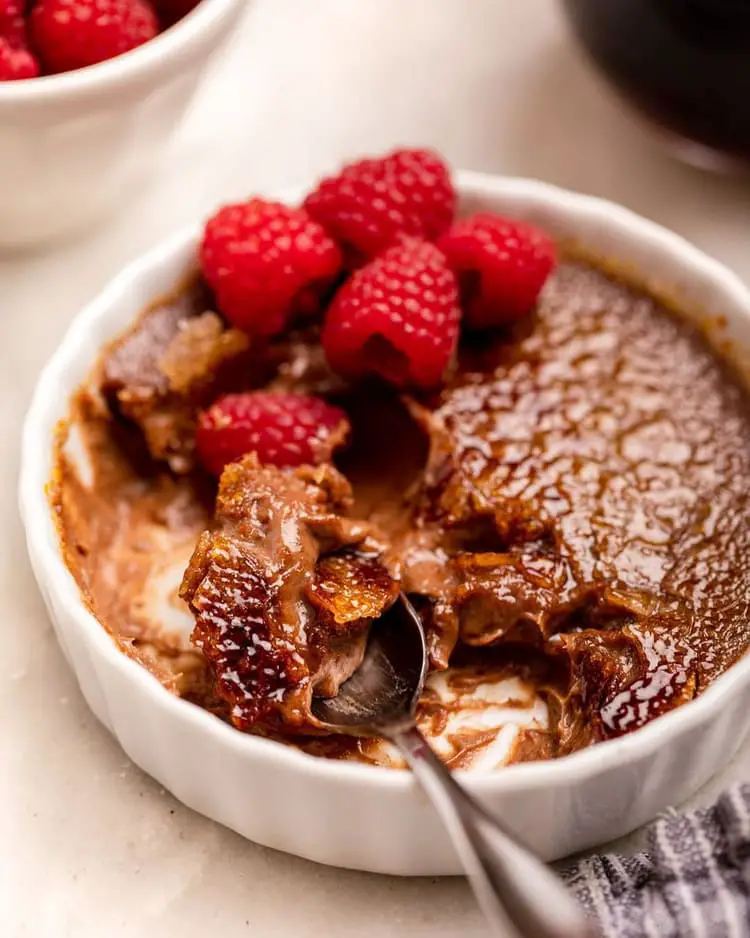
- Chocolate Crème Brûlée – Melt some dark chocolate into the cream before mixing.
- Espresso Crème Brûlée – Add a shot of espresso for a coffee lover’s dream dessert.
- Coconut Crème Brûlée – Substitute half the heavy cream with coconut milk for a tropical twist.
- Lemon or Orange Zest – A bit of citrus zest adds a fresh, bright flavor.
Common Mistakes to Avoid
Even though crème brûlée is simple, there are a few pitfalls you’ll want to steer clear of:
- Skipping the water bath – This step is crucial for a smooth custard. Direct heat can cause curdling.
- Overbaking – The custard should still have a slight jiggle in the center when you take it out of the oven.
- Burning the sugar – If you use a broiler, keep a close eye on it so it doesn’t burn!
Making crème brûlée at home is so much easier than you think. It’s a show-stopper dessert that will impress guests (or just make an average Tuesday night feel extra fancy).
So go ahead, give it a try! You might just find yourself making it again and again.
If you do, let me know how it turns out! Happy baking!
I aim to share my tips and recommendations for the beautiful country of France. My goal is to help you plan your next adventure, whether it’s a weekend getaway or a once-in-a-lifetime trip. From finding the best hotels and restaurants, to discovering unique activities and sights, I’ve got you covered!